You can customize the Quick Access Toolbar and improve your productivity by adding icons that you use frequently. You also add icons that only appear for certain workbooks.
Hat Tip to David Ringstrom and his book Exploring Microsoft Excel’s Hidden Treasures for this tip.
This can be useful if a specific workbook uses certain features.
Some icons are wide and take up more space on the Quick Access Toolbar than others. If you don’t use them all the time it may be useful to only turn them on for specific workbooks.
Custom icons for a workbook are added to the standard toolbar when the workbook is activated and they disappear when the workbook is deactivated.
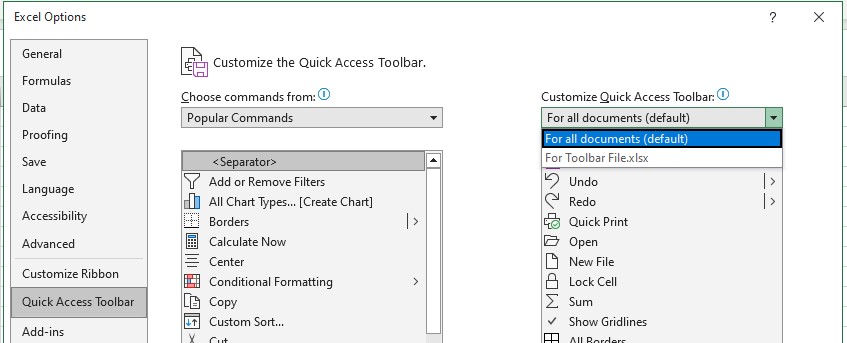
When you Customize the Quick Access Toolbar there is a drop down in the top right of the dialog – see image below.

The default option is for all documents (workbooks). The drop down allows you to select from the open workbooks to add certain icons to.
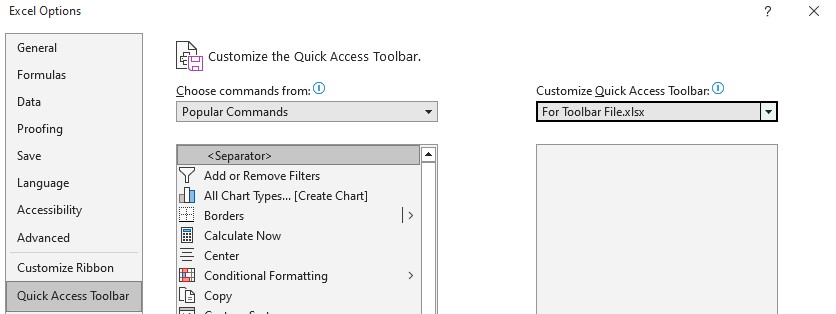
When you choose the file you started with a blank list as per the image below.

Then you can add icons – see image below.

These icons are then added to the end of the Standard Toolbar – as per the image below.

Opening or activating another file will automatically remove them – see image below.

Please note: I reserve the right to delete comments that are offensive or off-topic.