Printing in Excel can be a tricky exercise. Both Word and PowerPoint basically don’t let you print outside the page, but each Excel sheet has a huge grid with over 17 billion individual cells. Printing large spreadsheets can be a challenge.
Don’t forget to set the Print Area on any sheet that may be printed. As a default Excel will try and print everything on the sheet unless you define a Print Area.
If you have Excel 2010 and you want to use the “old-fashioned” Print Preview screen click here to see a previous blog post on how to display the screen.
The Page Layout tab on the Ribbon can remove some of the printing pain. It has most of the common options as icons and all other options are only a click or two away.
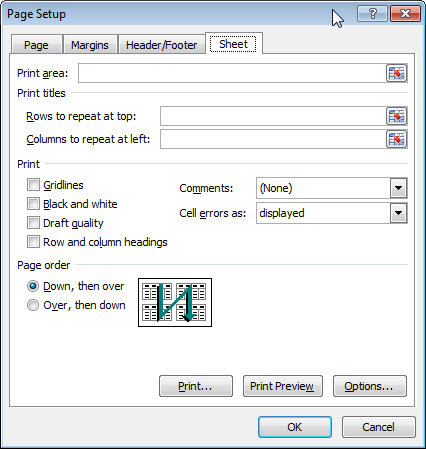
The Print Titles settings are now easy to access as there is a dedicated icon. Accessing this option in previous versions was frustrating as it was “greyed out” in some dialogs. Print Titles are the rows you can repeat at the top of all the pages and the columns to repeat at the left of all the pages.
Gridlines can also be controlled on the Page Layout Ribbon tab. There are two types of gridlines.
Sheet gridlines are those visible on the screen and Print gridlines are visible on the printed pages. They are totally independent. Having one on or off does not affect the other.
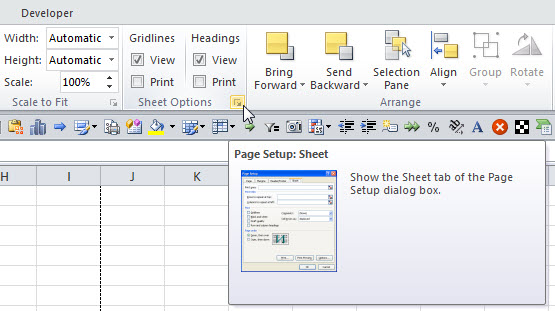
Many people are not aware that you can access many non-Ribbon options directly by clicking the small arrow icon on the bottom right hand corner of a Ribbon tab section. See image below for the Sheet Options section.
In this case you can go directly to the Sheet tab of the Page Setup dialog.
You can even right click the small arrow icon to add it to your Quick Access Toolbar. Click here to see a post on the Quick Access Toolbar if you are unsure of it.
Not all Ribbon tab sections have the small arrow. If there is a small arrow it means there are more options available.


Please note: I reserve the right to delete comments that are offensive or off-topic.